
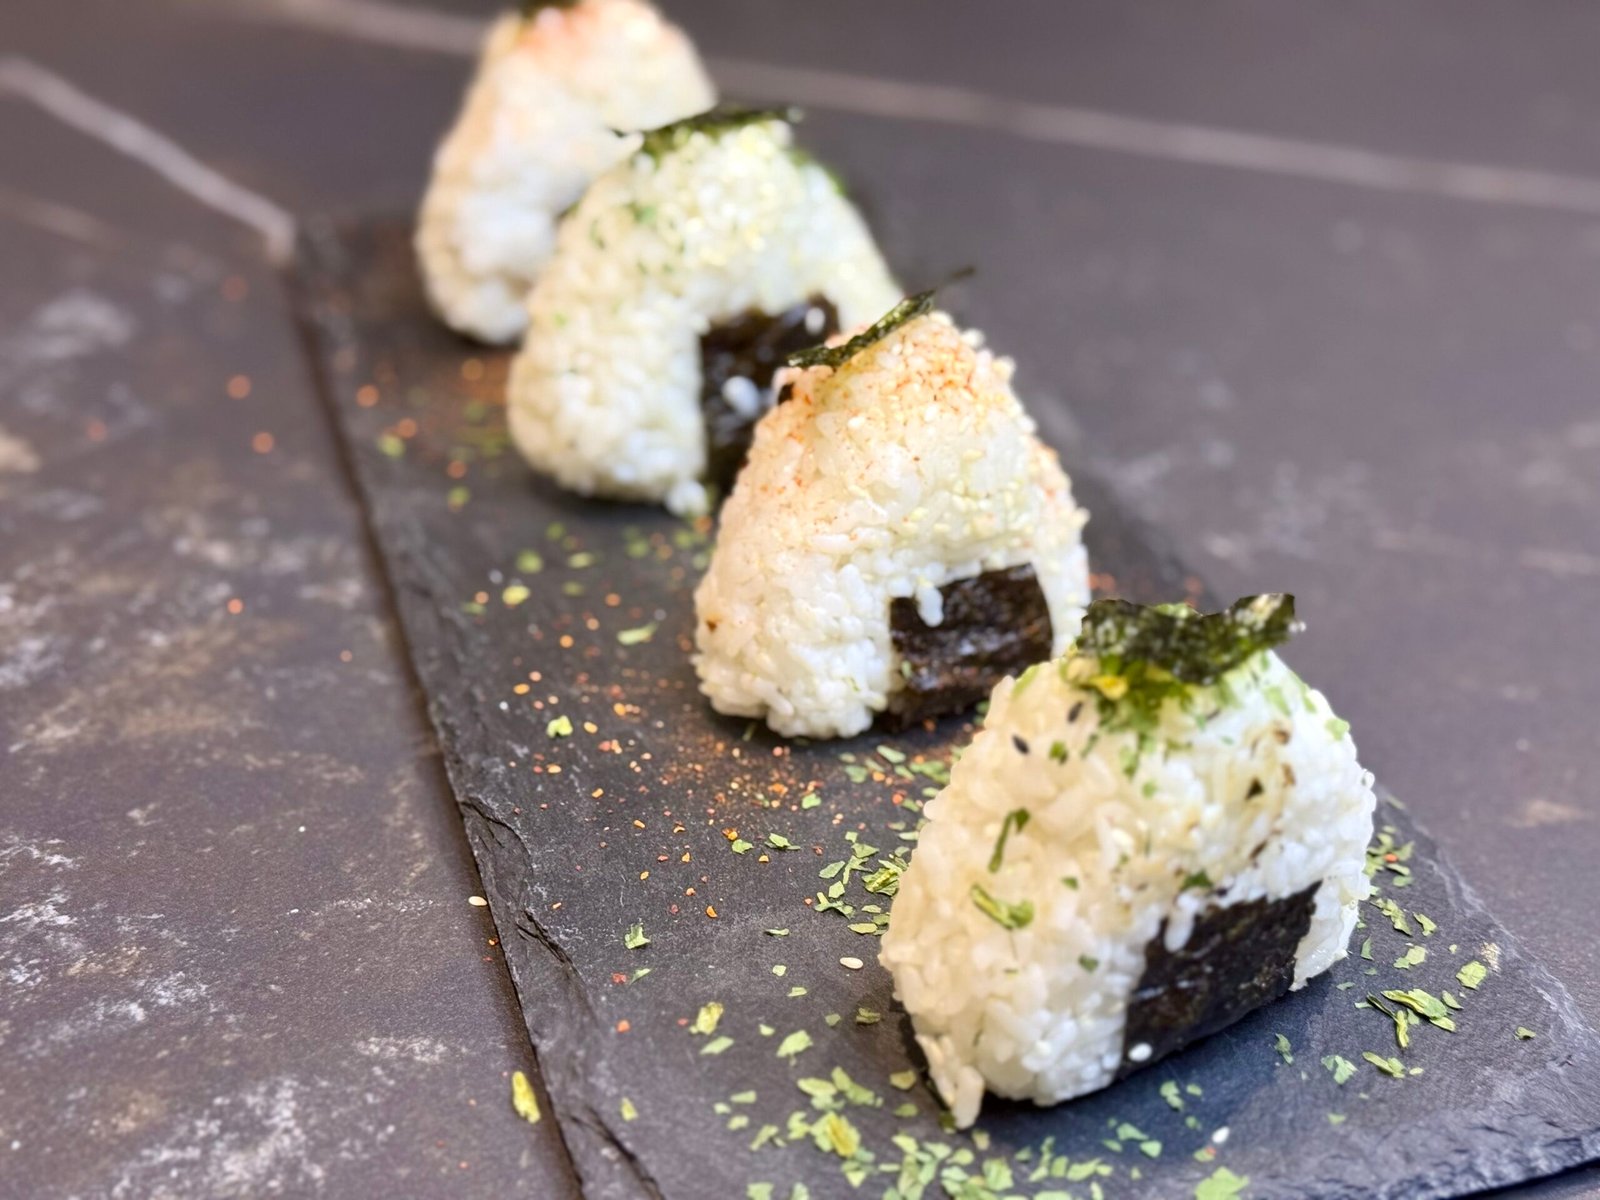
Sunday evenings are often TV night, and the children often ask me in unison: "Mom, is it pizza tonight?" I wanted to be a little more original (and sensible) and remembered those little Japanese sandwiches that are a nice change from sushi: onigiri . These famous Japanese rice balls are both practical and delicious snacks. Traditionally eaten in Japan as a quick meal, they come in a multitude of flavors and fillings, which is ideal when you're using up what's in the pantry. You can stuff them with grilled salmon, spicy tuna, chicken mixed with Laughing Cow cheese—basically whatever you like and, above all, whatever you have left in the fridge. You wrap the base with a strip of nori seaweed to make them easier to handle. These little bites are naturally gluten-free , provided you use tamari instead of regular soy sauce. Easy to prepare, they're perfect for a picnic or a light lunch. Unlike sushi or maki, the rice isn't mixed with sugar and vinegar, making it healthier. You can create classic versions as well as more original ones, like avocado and sesame or sea bass marinated in yuzu. Discover how to make delicious gluten-free onigiri with ease! You can also try the sandwich version, even simpler and a bit larger: the onigirazu !
Ingredients
Preparation
-
Cooking rice in a saucepan: Rinse the rice several times in cold water until the water runs clear. Drain for at least 10 minutes. Cook according to the package instructions or in a saucepan with 400 ml of water, cover, and simmer over low heat for 15 minutes. Let it rest for another 10 minutes off the heat.
-
Cooking rice in the Ninja Foodi: Rinse the rice several times in cold water until the water runs clear. Drain for at least 10 minutes. Cook 300g of rice with 460ml of water using the Pressure, Hi, 2-minute delayed release setting.
-
Seasoning: Gently mix the cooked rice with salt (if using). Let it cool slightly so it's easy to handle, but use it while still warm.
-
Shaping: Moisten your hands and take a portion of rice. Form a ball in the palm of your hand, make a small indentation, and place the filling in the center. Gently compact it, forming a ball around the filling. Shape into a triangle or use a special onigiri mold like these .
-
Adding nori (optional): Cut a strip of nori and wrap it around the base of the onigiri for a better grip.
-
Grilled version (Yaki Onigiri): Lightly brush the onigiri with tamari and grill it in a pan until a golden crust forms.
-
Serve immediately or store them wrapped in cling film. These gluten-free onigiri are perfect for a quick and balanced meal!
-
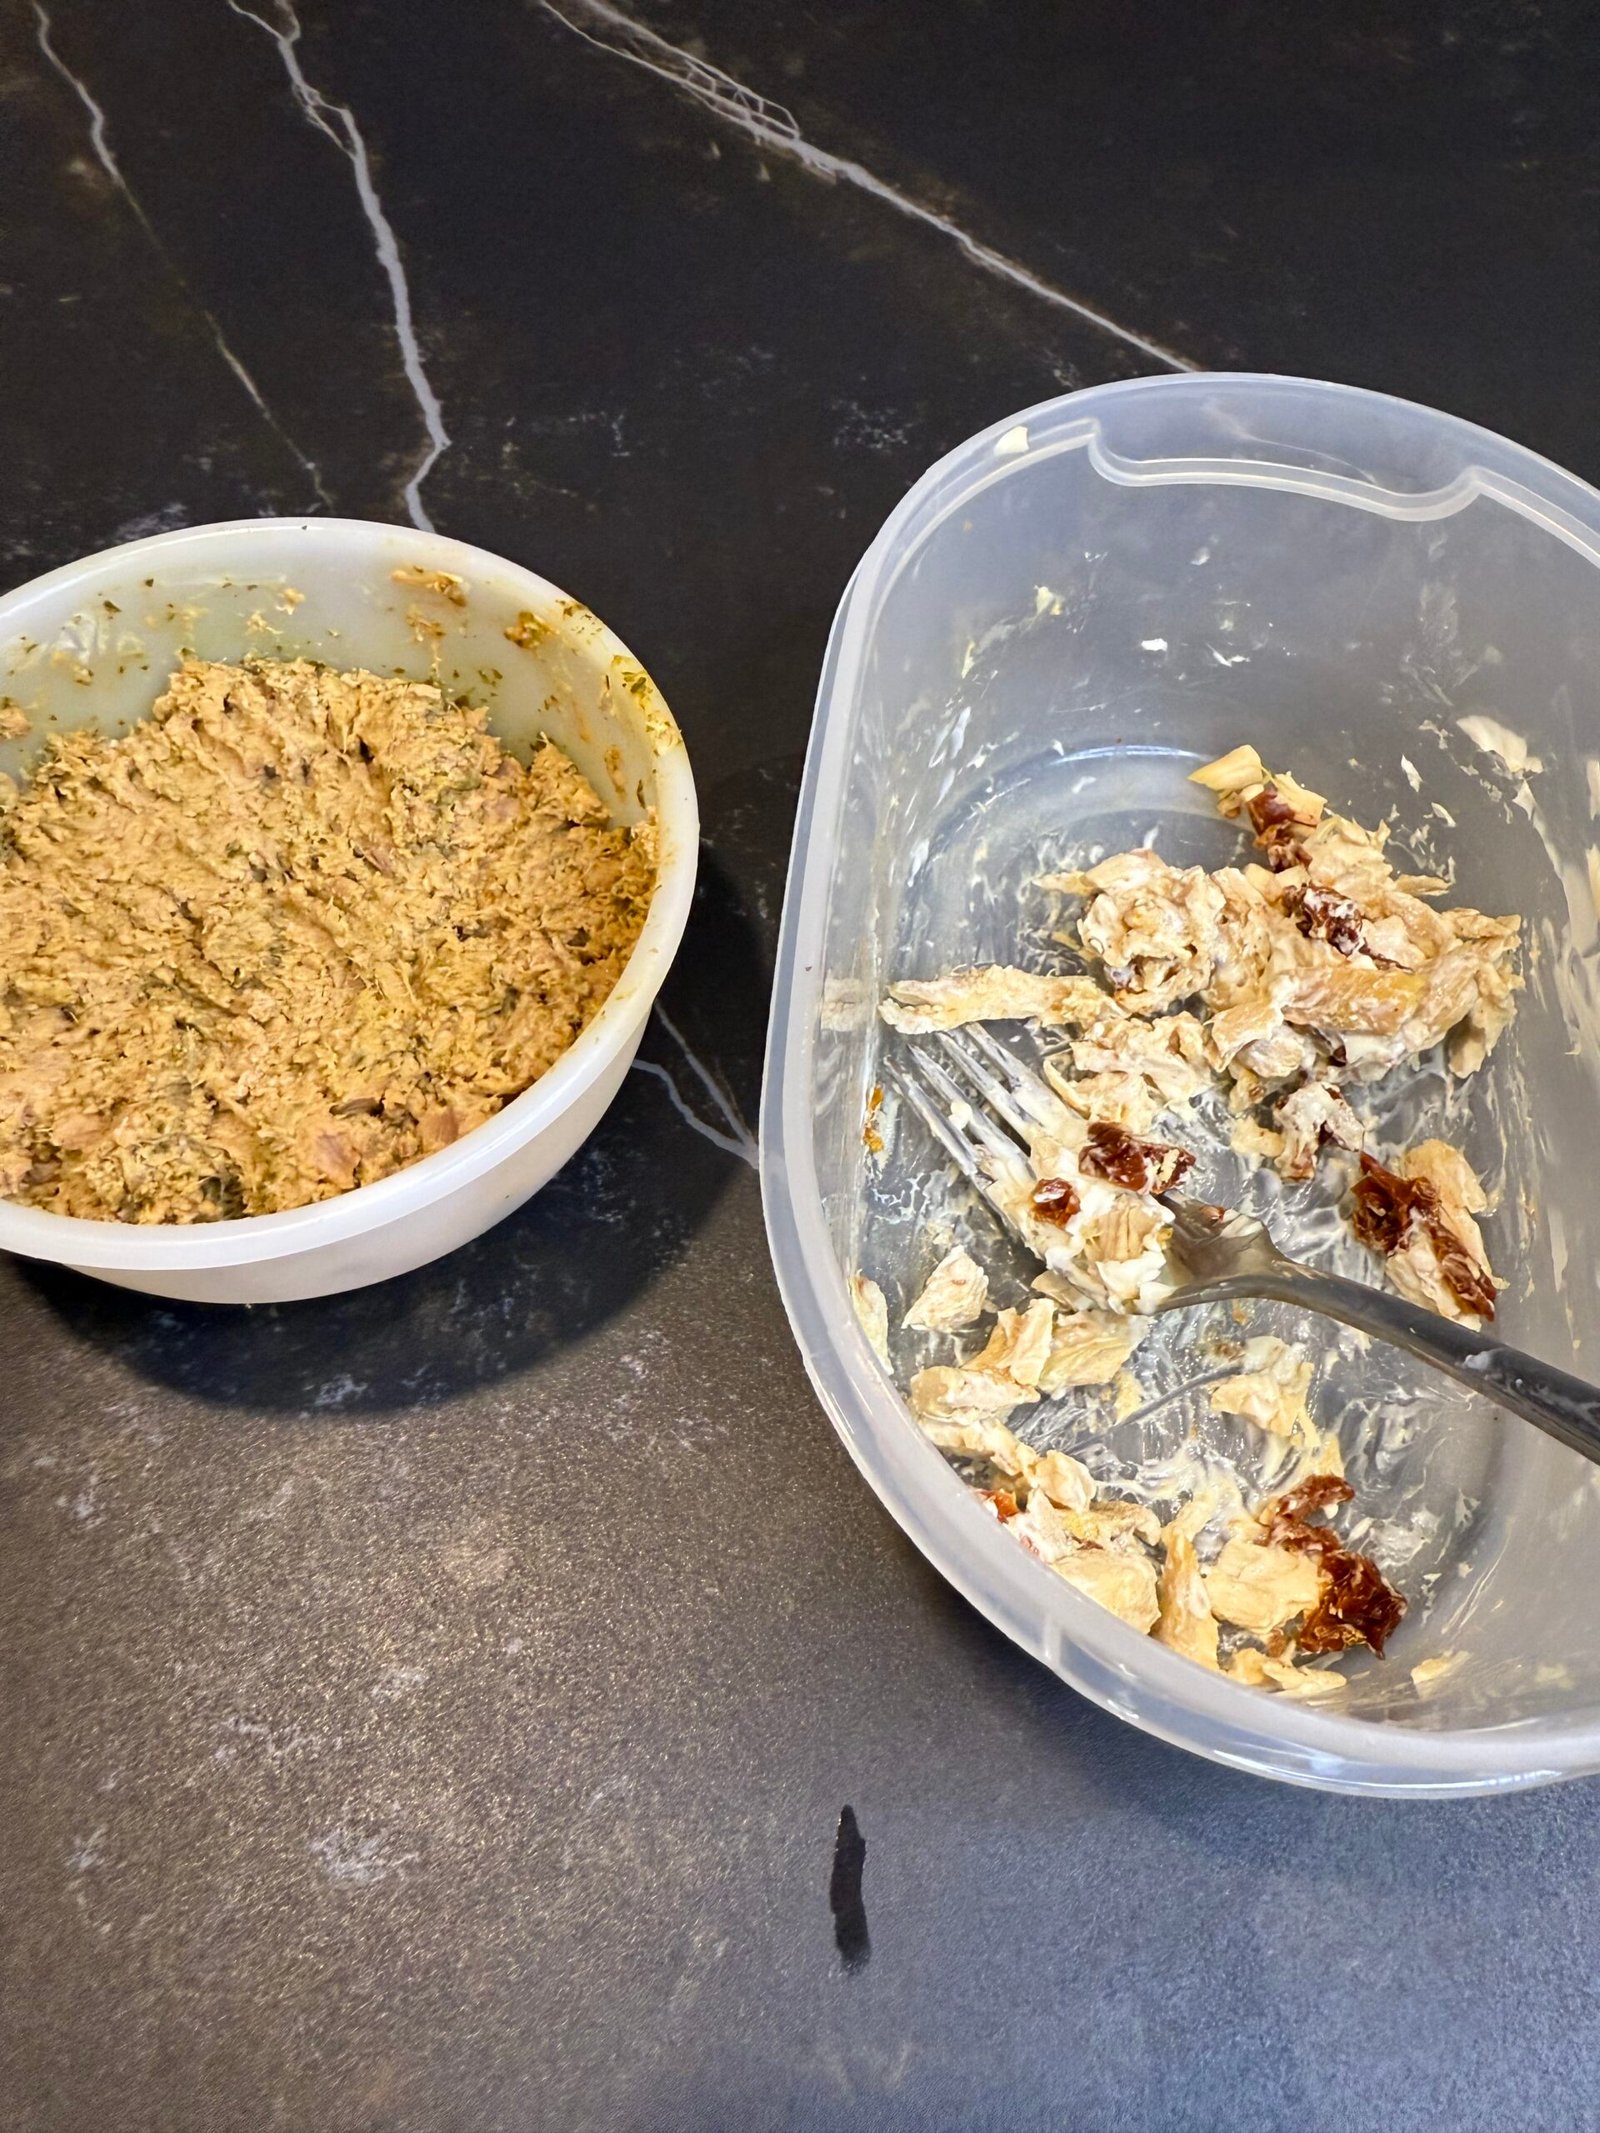
Possible toppings but you will do according to what you have and what you like: Spicy cooked tuna (canned tuna, sriracha, mayonnaise, soy sauce, sesame seeds...); Grilled salmon, spicy or not, Cooked minced chicken/Laughing cow cheese/sun-dried tomatoes or cooked chicken, marinated in a Teriyaki sauce.
Note
You can sprinkle the onigiri with sesame seeds, fresh or dried herbs.


