
Challah , but without dairy products, to respect Jewish dietary laws that prohibit mixing milk and meat in a meal. With its soft texture, elegant braiding, and slightly sweet taste, it's perfect for sharing. Today, I'm offering you a gluten-free version that retains all the charm and flavor of the original, while adapting to the needs of those with gluten intolerance. Whether you enjoy it plain, with a little honey, or toasted, this gluten-free challah will quickly become a staple of your afternoon snacks or meals. Discover how to make this traditional bread perfectly.
“Discover the traditional and soft recipe for gluten-free challah brioche.”
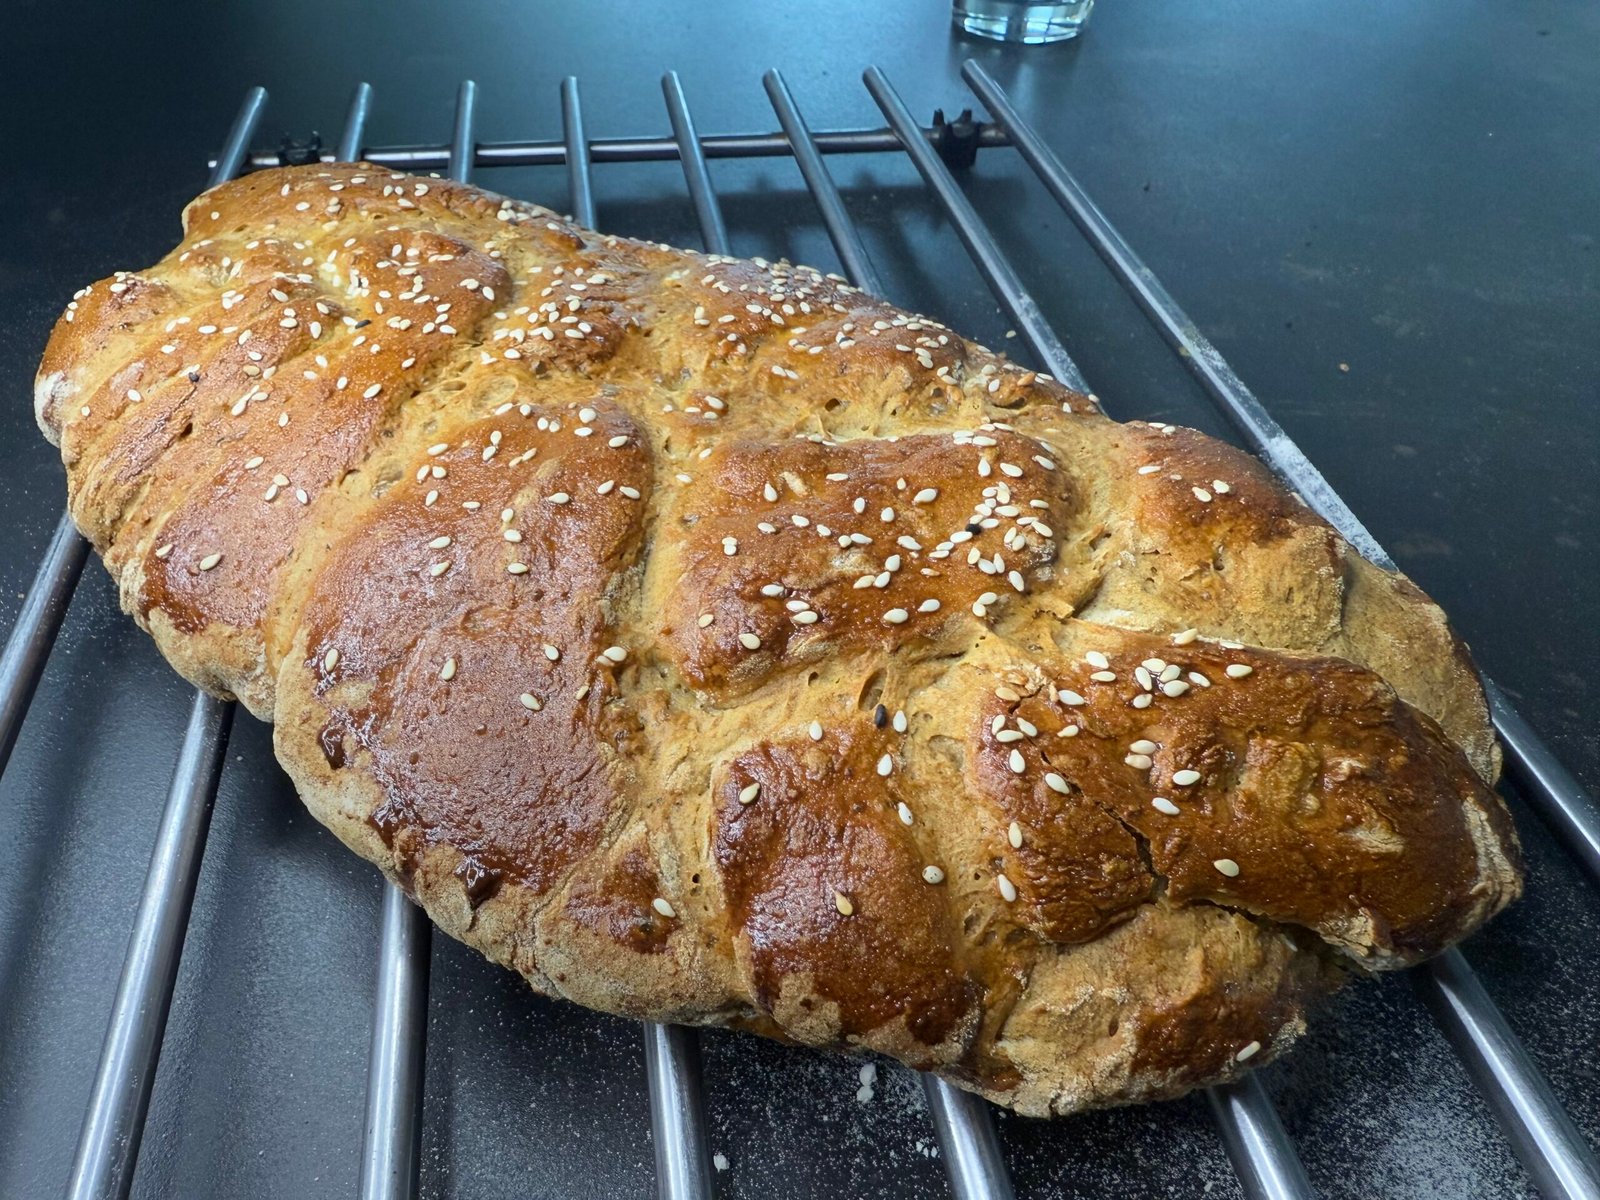
Gluten-Free Challah Brioche or Bread: A Tradition Reinvented
Ingredients
Preparation
-
Activate the yeast
In a bowl, mix the fresh yeast and a tablespoon of lukewarm water. Let it rest for 5 minutes.
-
Activate the binding agents
In a bowl, mix the psyllium, chia and flax seeds and pour in 170 ml of water. In a few minutes, a gel will form.
-
Mix the dry ingredients
In a large bowl, mix together the teff flour, millet flour and potato starch (or ready-made gluten-free bread flour), sugar, bicarbonate and salt.
-
Prepare the dough
- In your food processor, or by hand, combine the beaten eggs, psyllium gel and seeds, oil, and yeast dissolved in the dry ingredients. Mix well until you obtain a smooth, fairly sticky dough.
- Cover the bowl with a clean tea towel and let it rise in a warm place for about 1 hour, until the dough has doubled in volume. I proof my dough using the "prove" setting in my Ninja Foodi.


-
Shape the challah
- On a floured work surface, divide the dough into three portions. Shape each portion into a log and gently braid them. Place the challah on a baking sheet lined with parchment paper.
- Let the challah rise again for 30 to 40 minutes.


-
Cooking
- Preheat the oven to 180°C.
- Brush the brioche with a beaten egg for a beautiful golden crust.
- Bake for 25 to 30 minutes, until the challah is golden brown and slightly firm to the touch.

